
Hi everyone!
It sure has been awhile since I've done a tutorial, I've kind of been off my game lately.
But here is a good one!
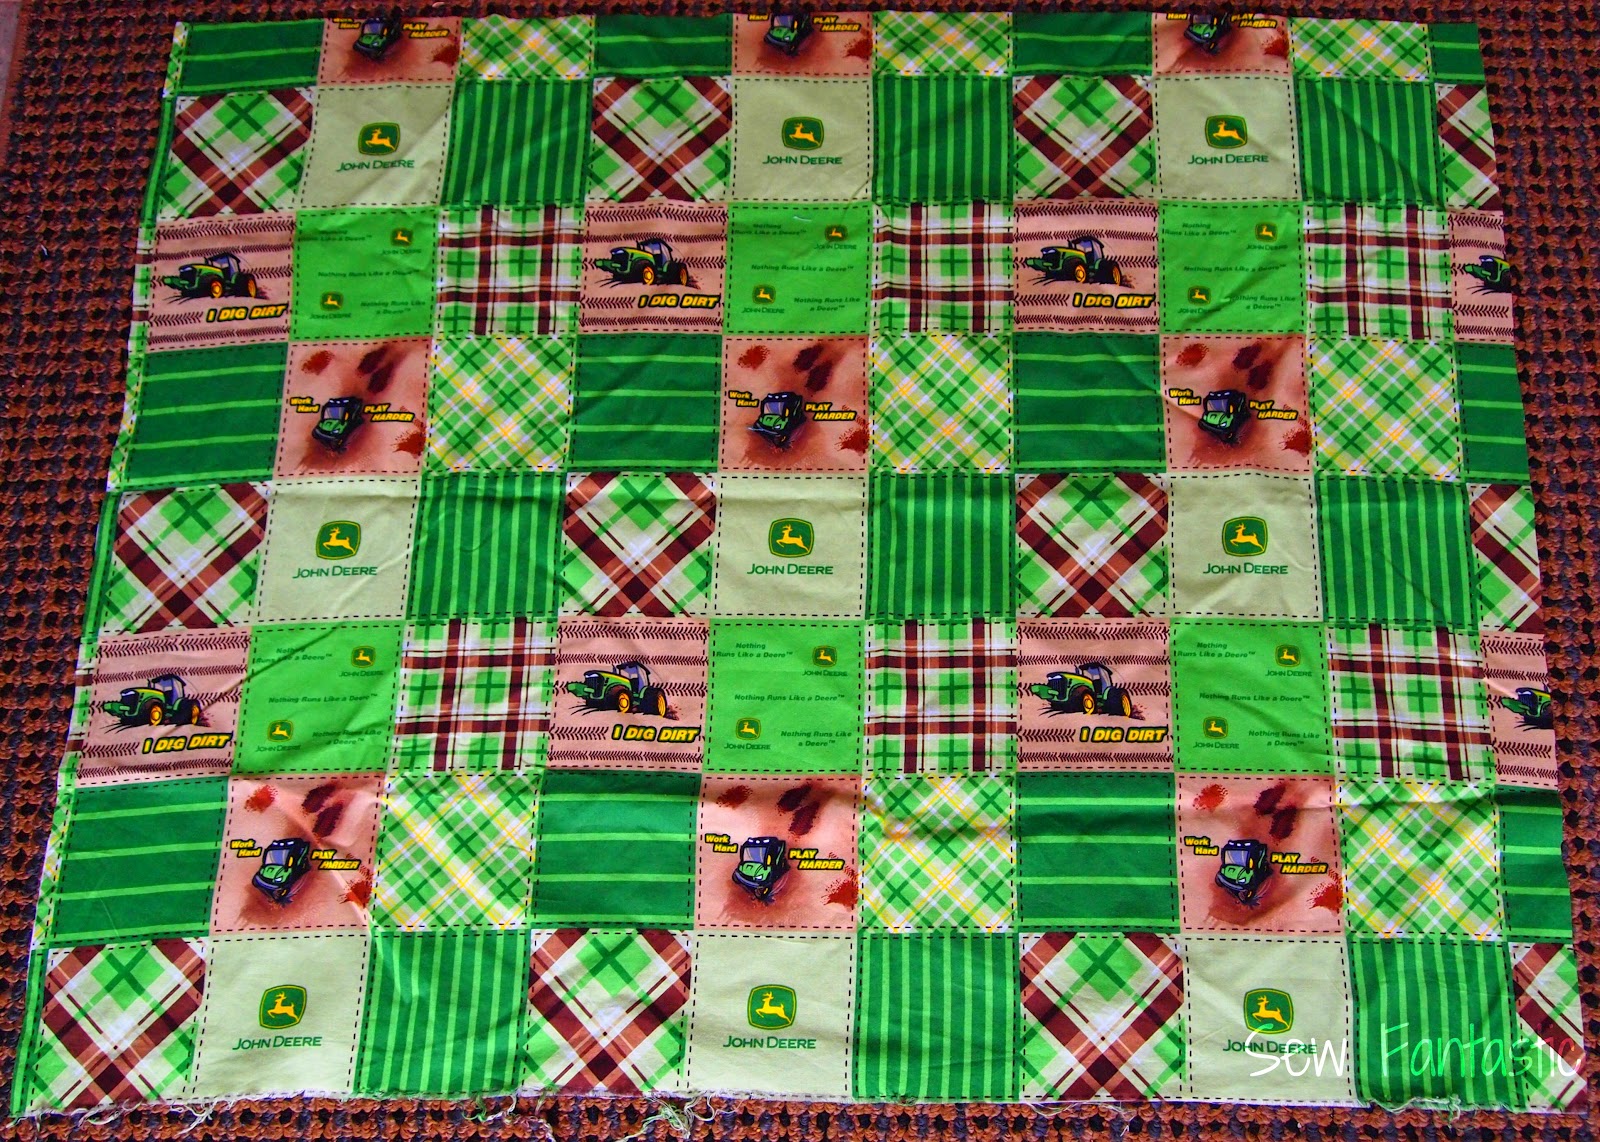
My sister Allison, is pregnant with her first baby (my 2nd nephew!) and since it is a boy she decided to go with a John Deere theme (you should see the baby's nursery it's amazing!) I decided I'd make her a couple things.
I first made her a car seat cover which you can find the tutorial for HERE I used to make and sell tons of these!

Next project i started was a nursing cover.
For those of you who have never made one before it's super easy!
I used to make and sell these too, i really should open up my etsy shop again!


Next i cut a big piece of fabric 27"X38"
Then two smaller pieces one 3"X10" and the other one 3"X25"


Next i turned them right side out and ironed them flat.
I took the short piece and i ironed over 1/4" of one end and slipped both the d-rings on.

Then folded it over again, pinned to secure and then sewed it down.

For the longer piece i just folded it over a 1/4" once and then again and sewed it down.


I did the same for the sides as well

For the top i folded over and ironed down a 1/4" and then i folded it over 1/2" and ironed it down flat.

Then i folded the whole thing in half to find the center of the fabric, measured 7" from the center and marked it with pins on both sides of the fabric

Can you see the yellow pins when you open back up the fabric? It's 7" between the yellow pins.

Then i sewed a straight stitch between the pins

Slipped in the boning having it curve up toward me.


Then I did a straight stitch up the end of the boning to secure it.

I added my first strap right next to where the boning ended and i just slipped it up under the hem i had ironed

And flipped it up and pinned it, do the same for the other strap on the other side.
Sew down the strap and then finish sewing from your strap to the edge.

And Wa-La! there you have it. The easiest nursing cover to sew ever!

My entry into the Share It Link Party at The Winthrop Chronicles is sponsored by Appliances Online and their best Range Cookers.


No comments :
Post a Comment